How to query a CSV in PostHog
Sep 30, 2024
PostHog can capture a lot of data about your users. For data it can't capture, you can leverage the data warehouse to manually upload any data you'd like as a CSV
This tutorial shows you how to upload a CSV to storage, connect that storage source to PostHog, and then query the CSV alongside your data in PostHog.
Creating and uploading our CSV
For this tutorial, we can create an example CSV with a list of users for an imaginary video conferencing company which looks like this:
To get this into PostHog, we need to upload it into storage. The easiest way to do this is to use Cloudflare R2, but you can also use other storage services like S3, Azure Blob, or GCS.
After signing up for Cloudflare, go to your dashboard and create a new bucket (if you haven't already). We suggest using Eastern North America as a location hint if you're using PostHog Cloud US or European Union as a specific jurisdiction if you're using PostHog Cloud EU.
With the bucket created, upload your .csv.
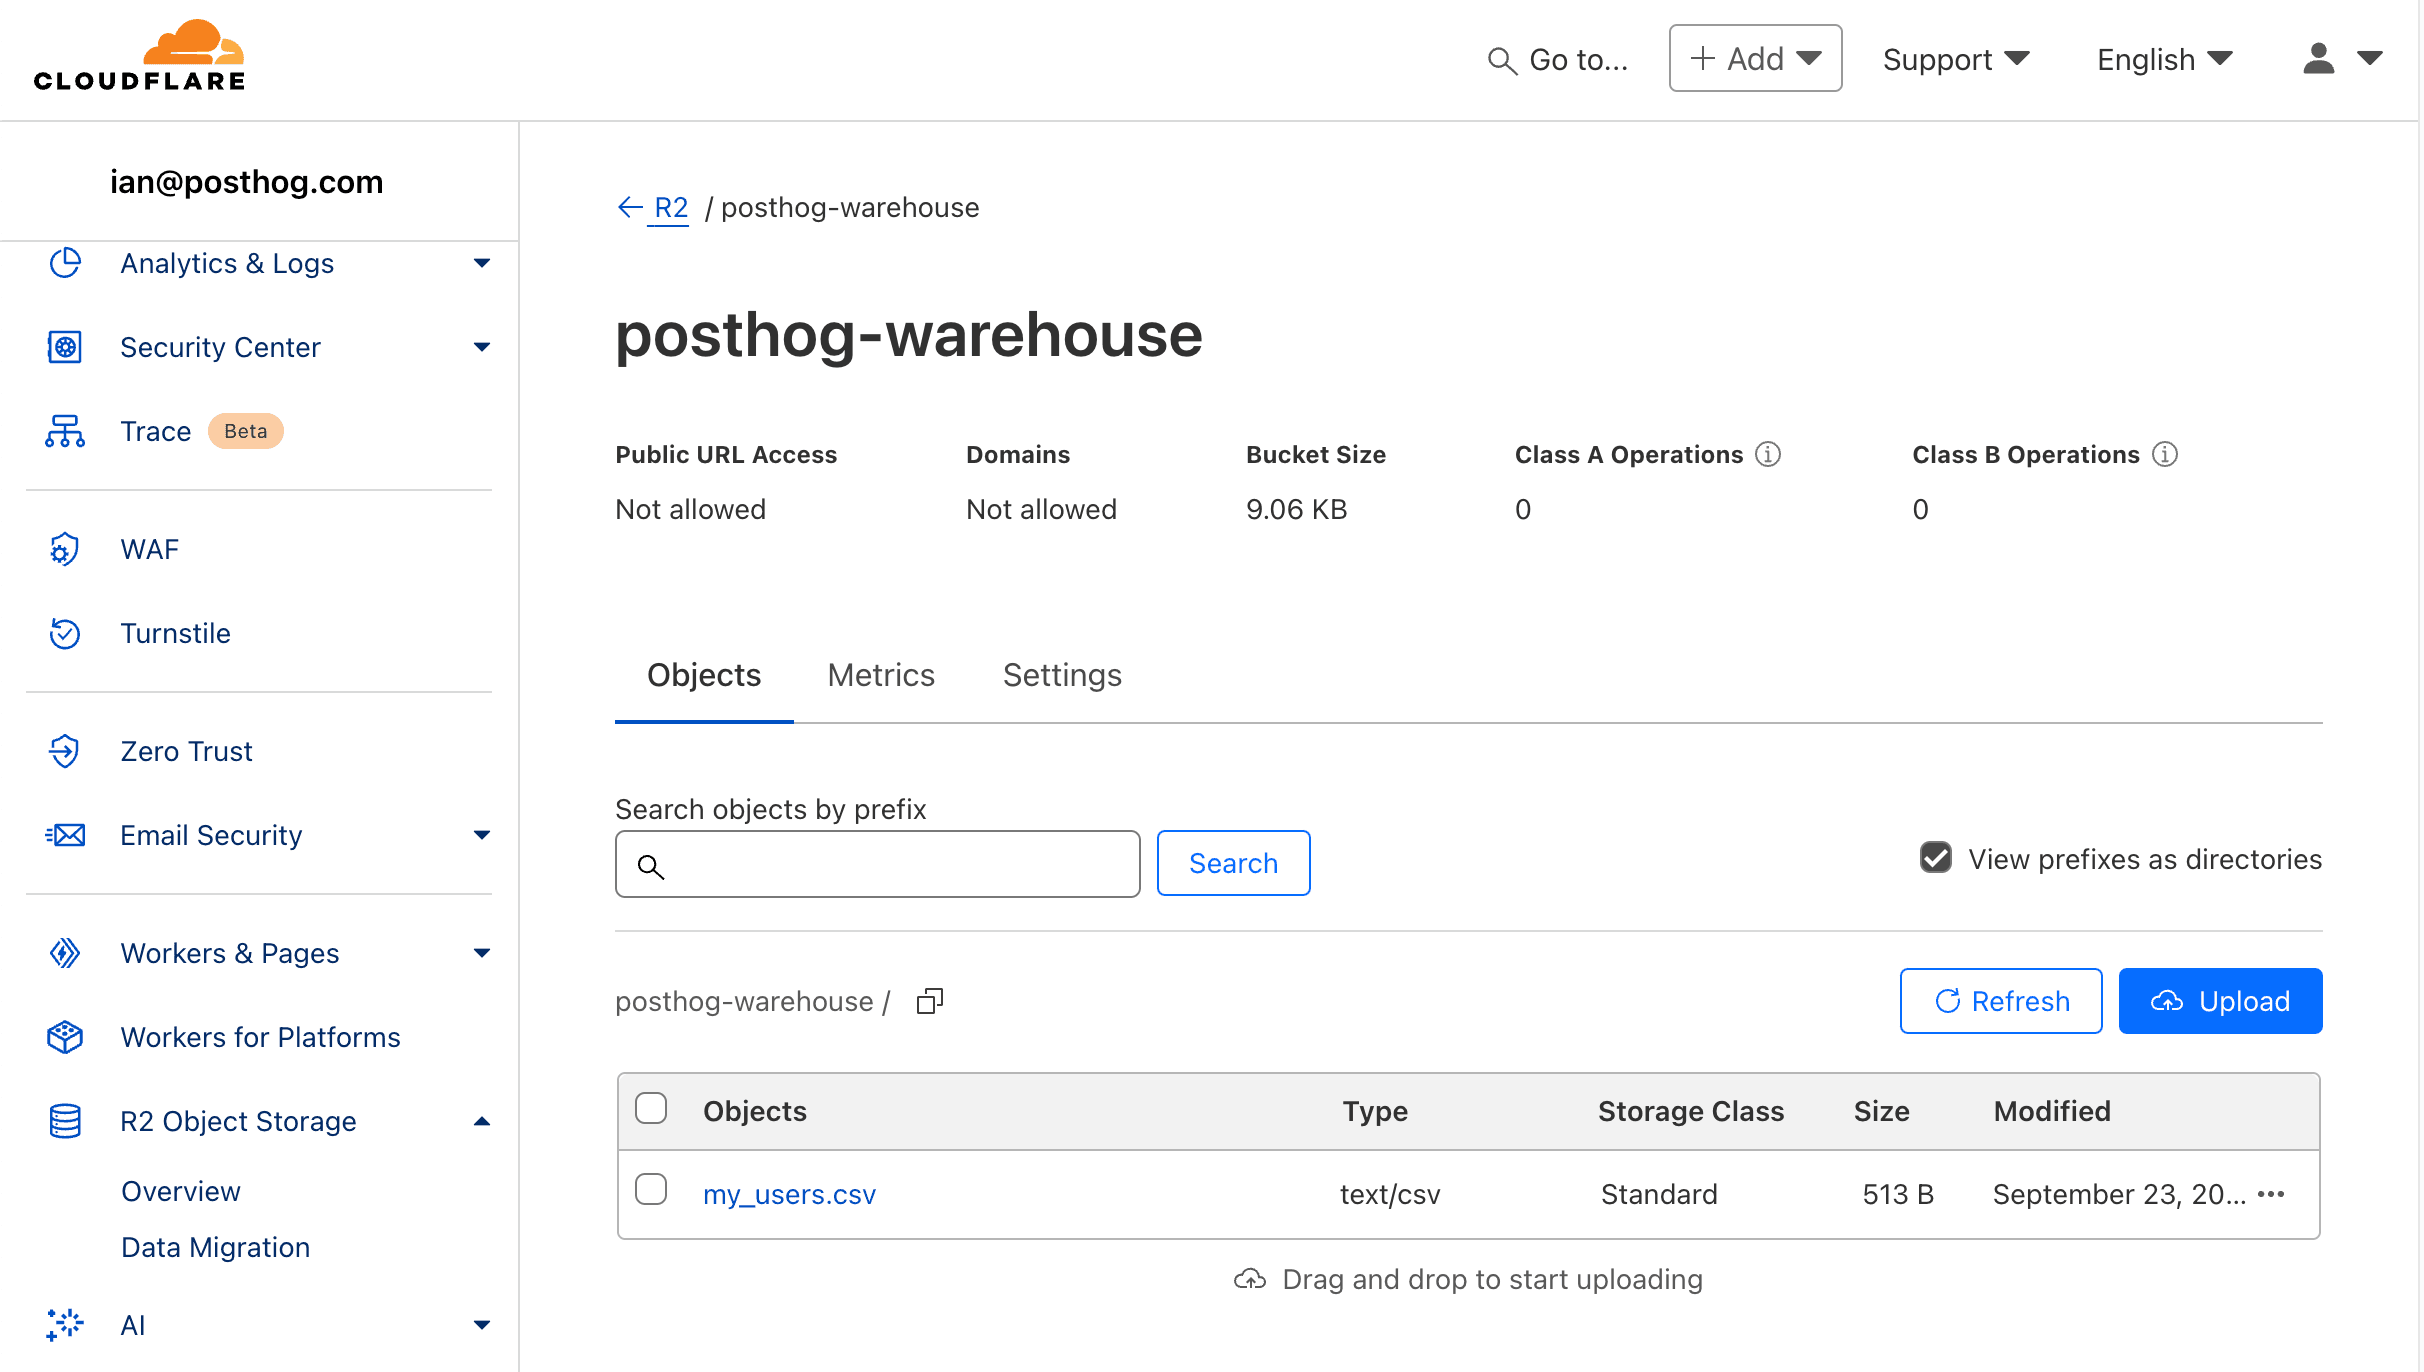
Connecting our R2 bucket to PostHog
With our bucket setup and .csv upload, we are ready to connect it to PostHog.
- In Cloudflare, go to the R2 overview, and under account details, click Manage R2 API Tokens.
- Click Create API token, give your token a name, choose Object Read only as the permission type, apply it to your bucket, and click Create API Token.
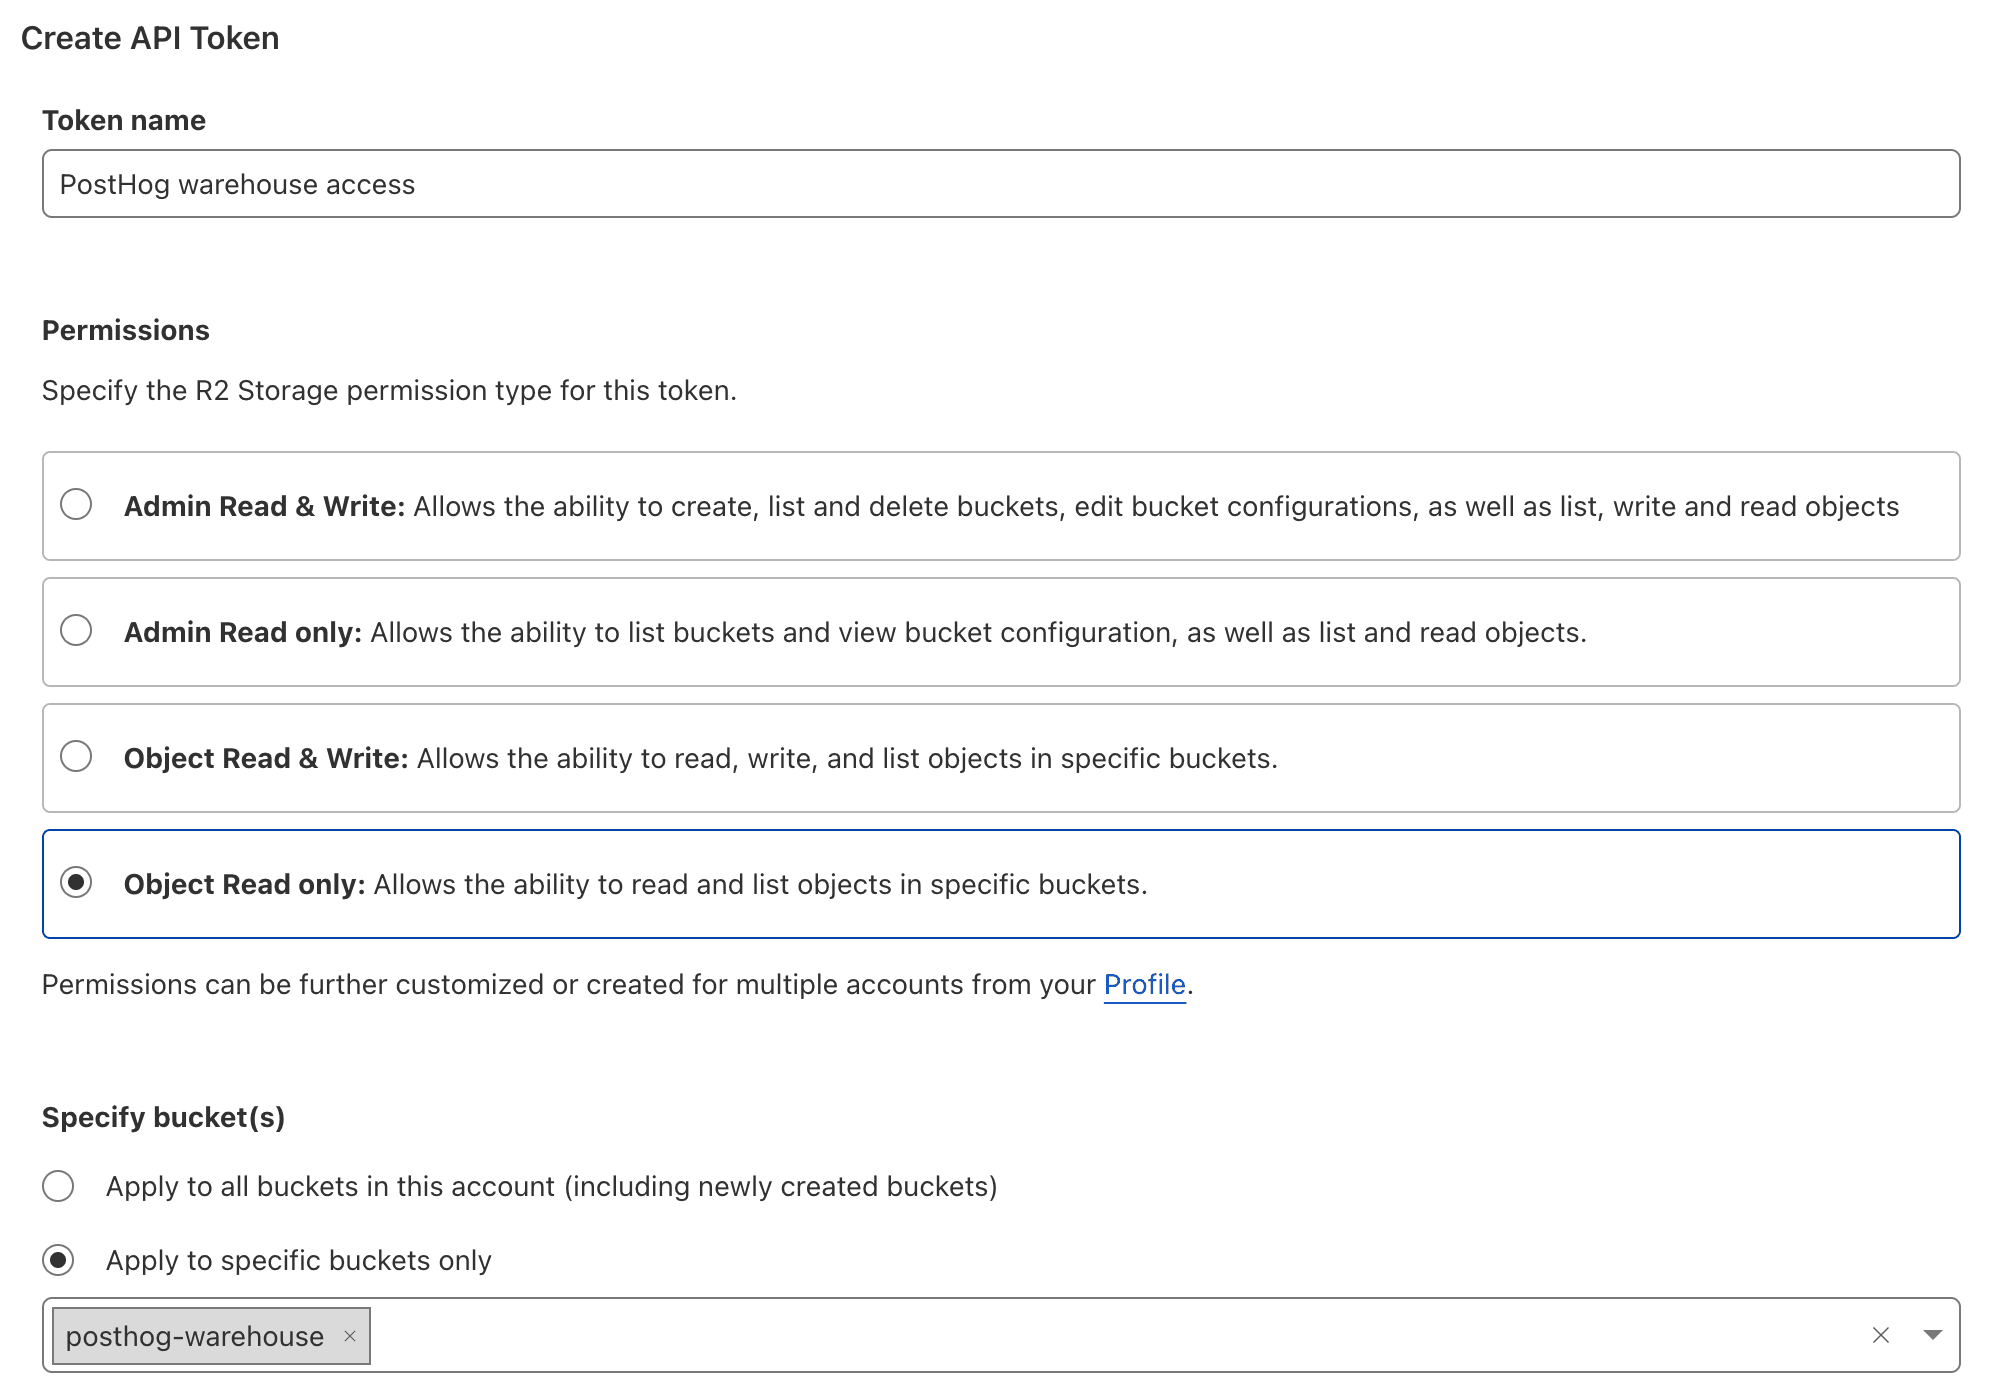
- Copy the credentials for S3 clients, including the Access Key ID, Secret Access Key, and jurisdiction-specific endpoint URL. These are not shown again, so copy them to a safe place.
With these, we can add the bucket to PostHog:
- Go to the sources tab of the data pipeline section in PostHog.
- Click New source and under self managed, look for Cloudflare R2 and click Link.
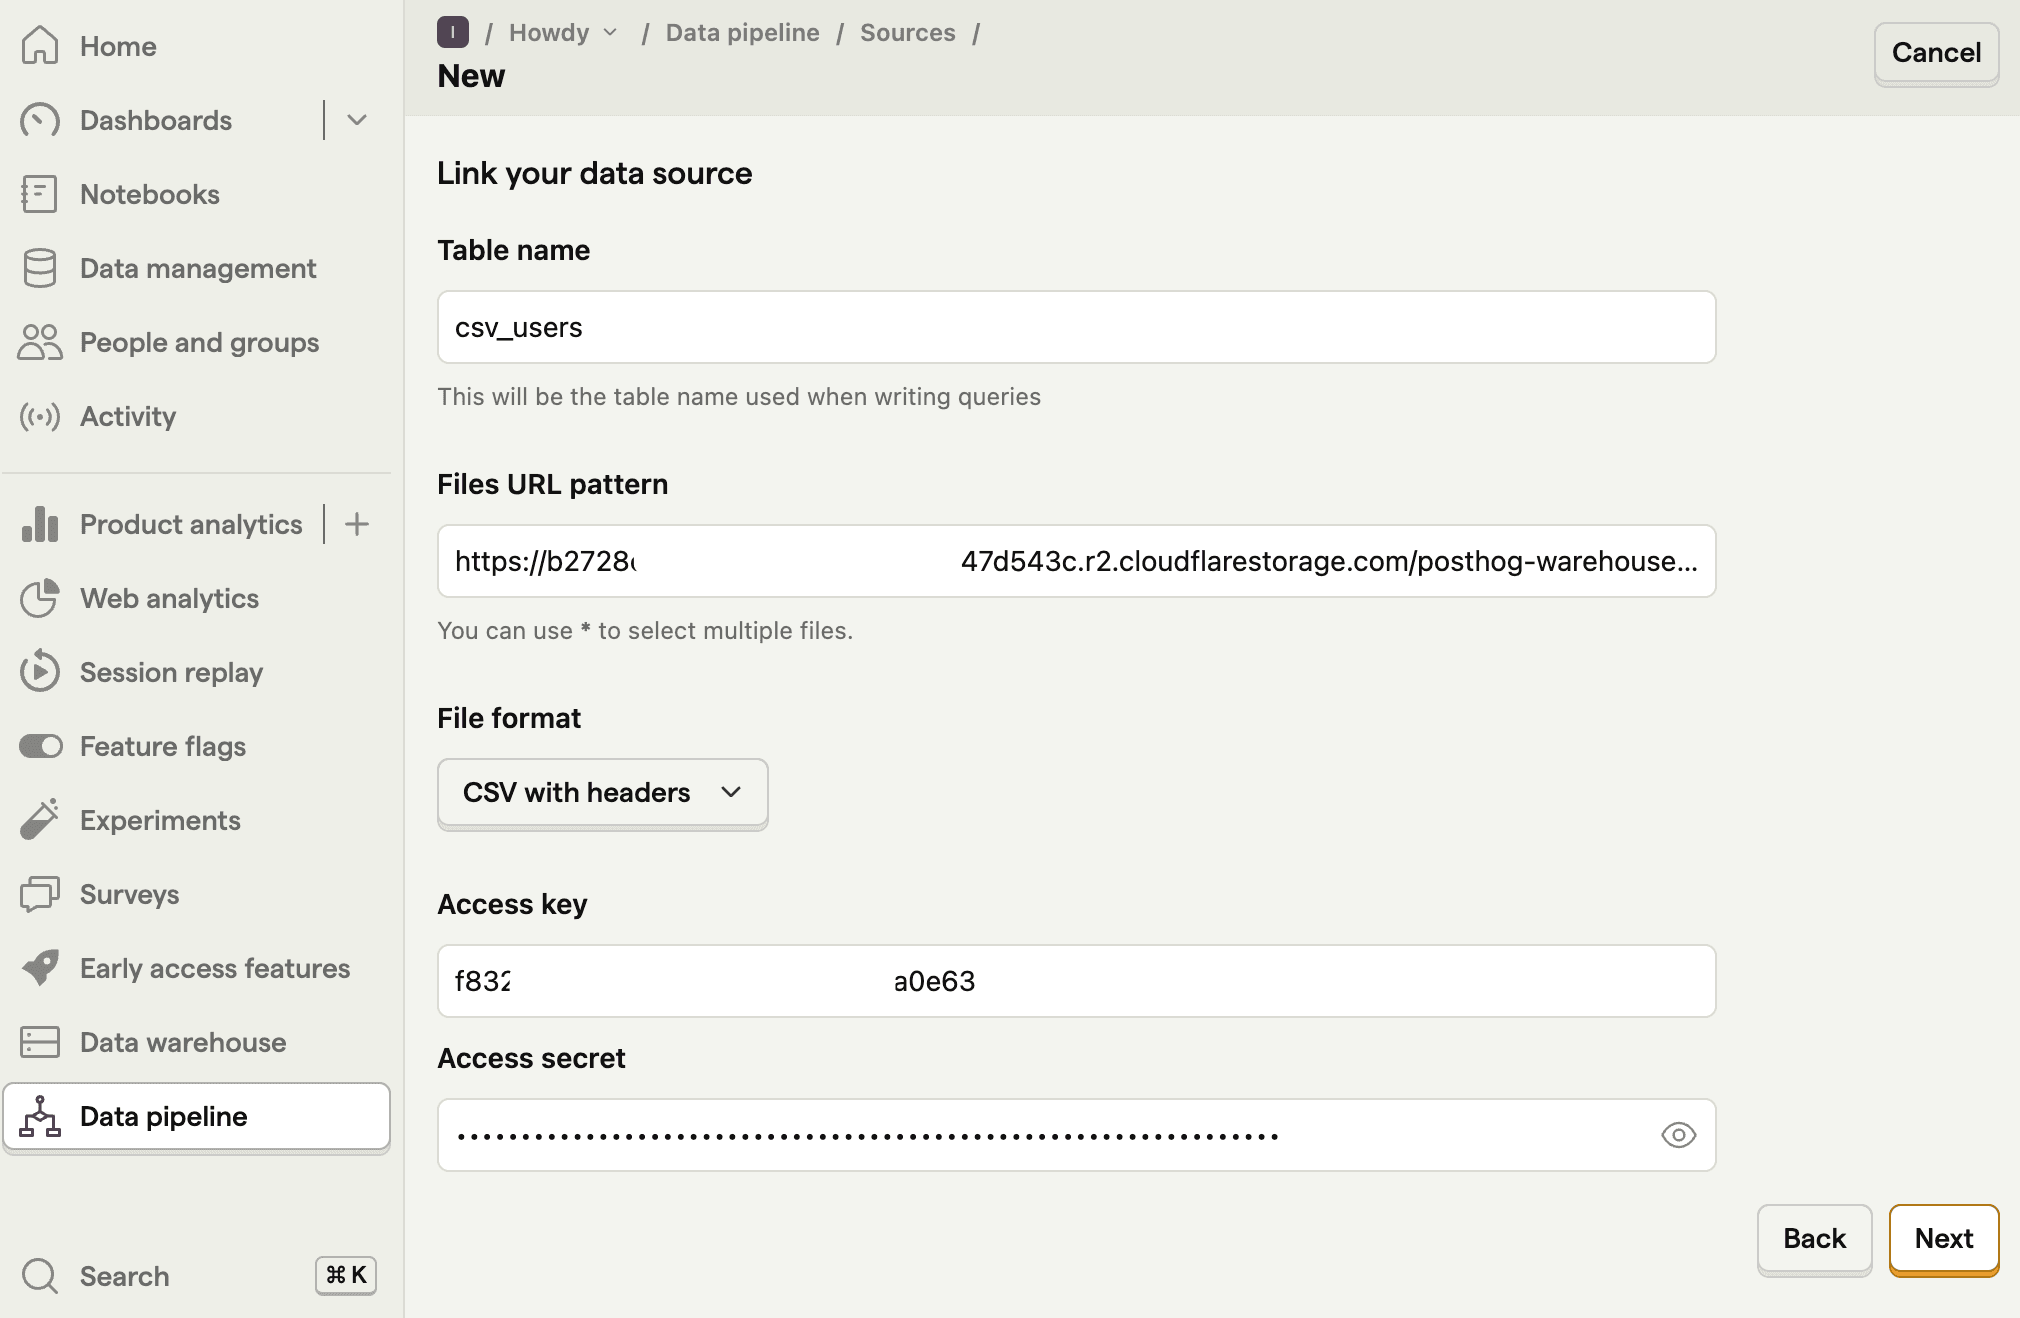
- Fill the table name for use in PostHog (like
csv_users), then use the data from Cloudflare to fill out the rest of the fields:- For files URL pattern, use the jurisdiction-specific endpoint URL with your bucket and file name like
https://b27344y7bd543c.r2.cloudflarestorage.com/posthog-warehouse/my_users.csv. - Choose the CSV with headers format.
- For the access key, use your Access Key ID.
- For the secret key, use your Secret Access Key.
- For files URL pattern, use the jurisdiction-specific endpoint URL with your bucket and file name like
- Finally, click Next to link the bucket to PostHog.
Querying CSV data in PostHog
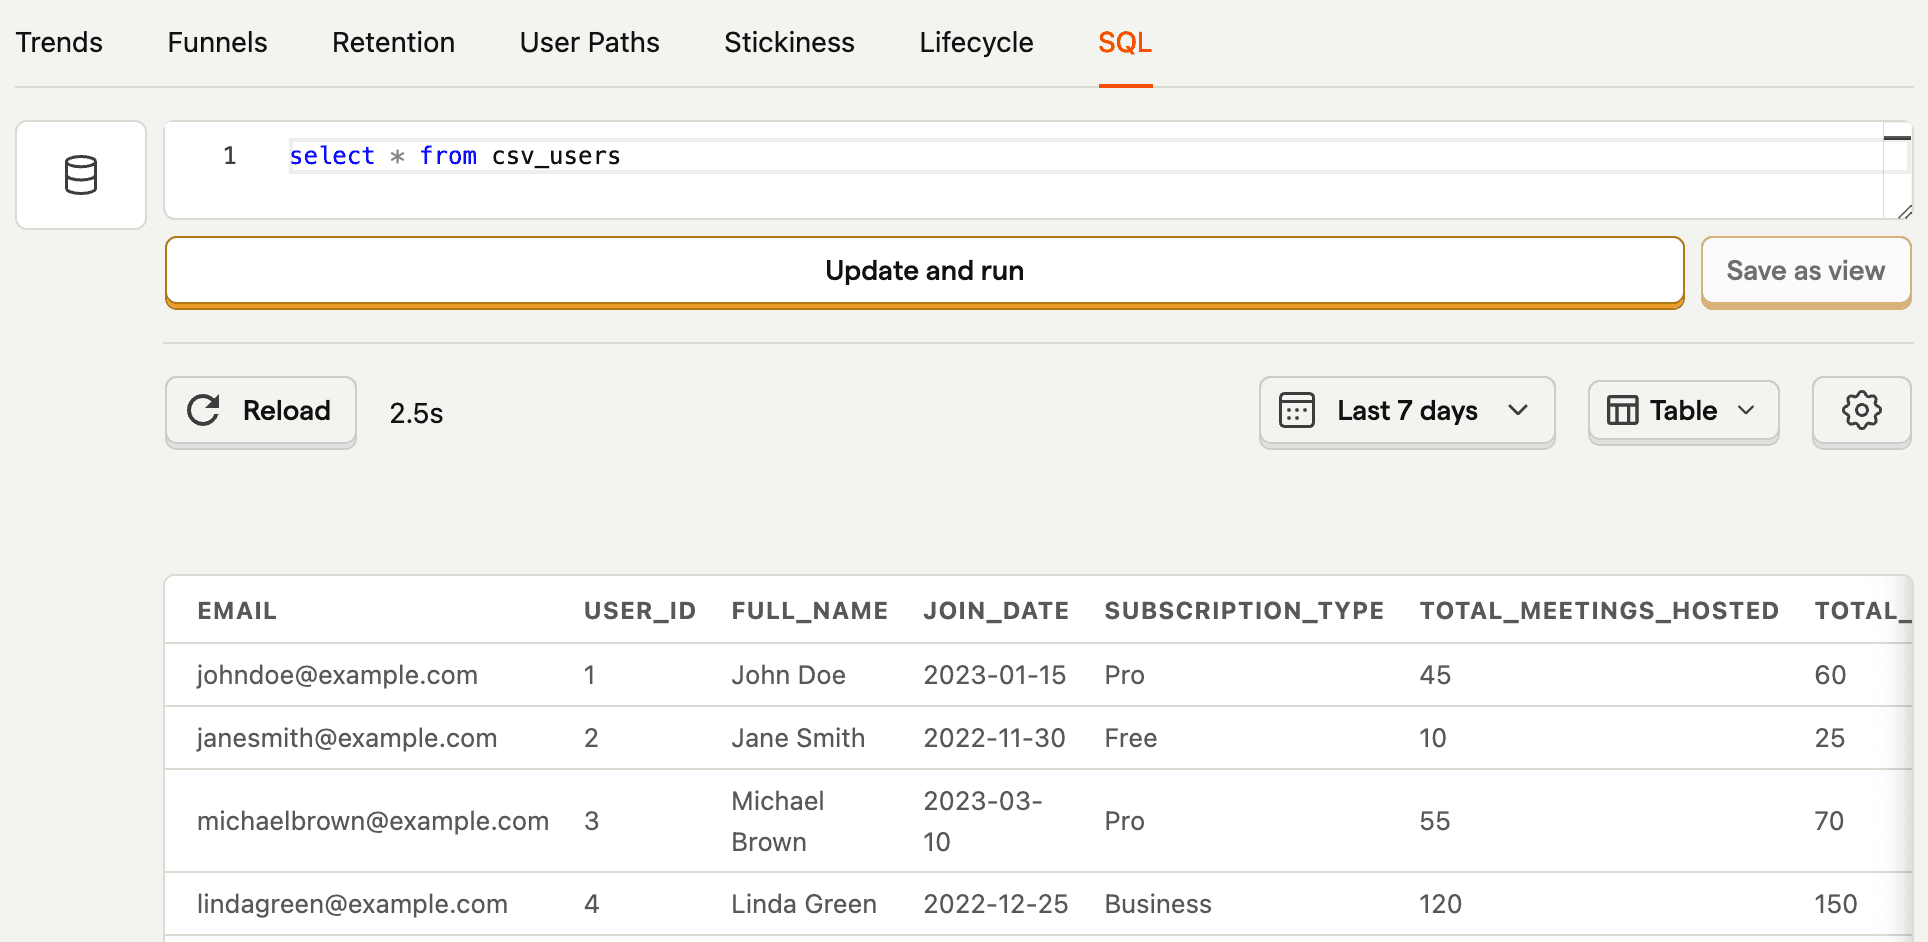
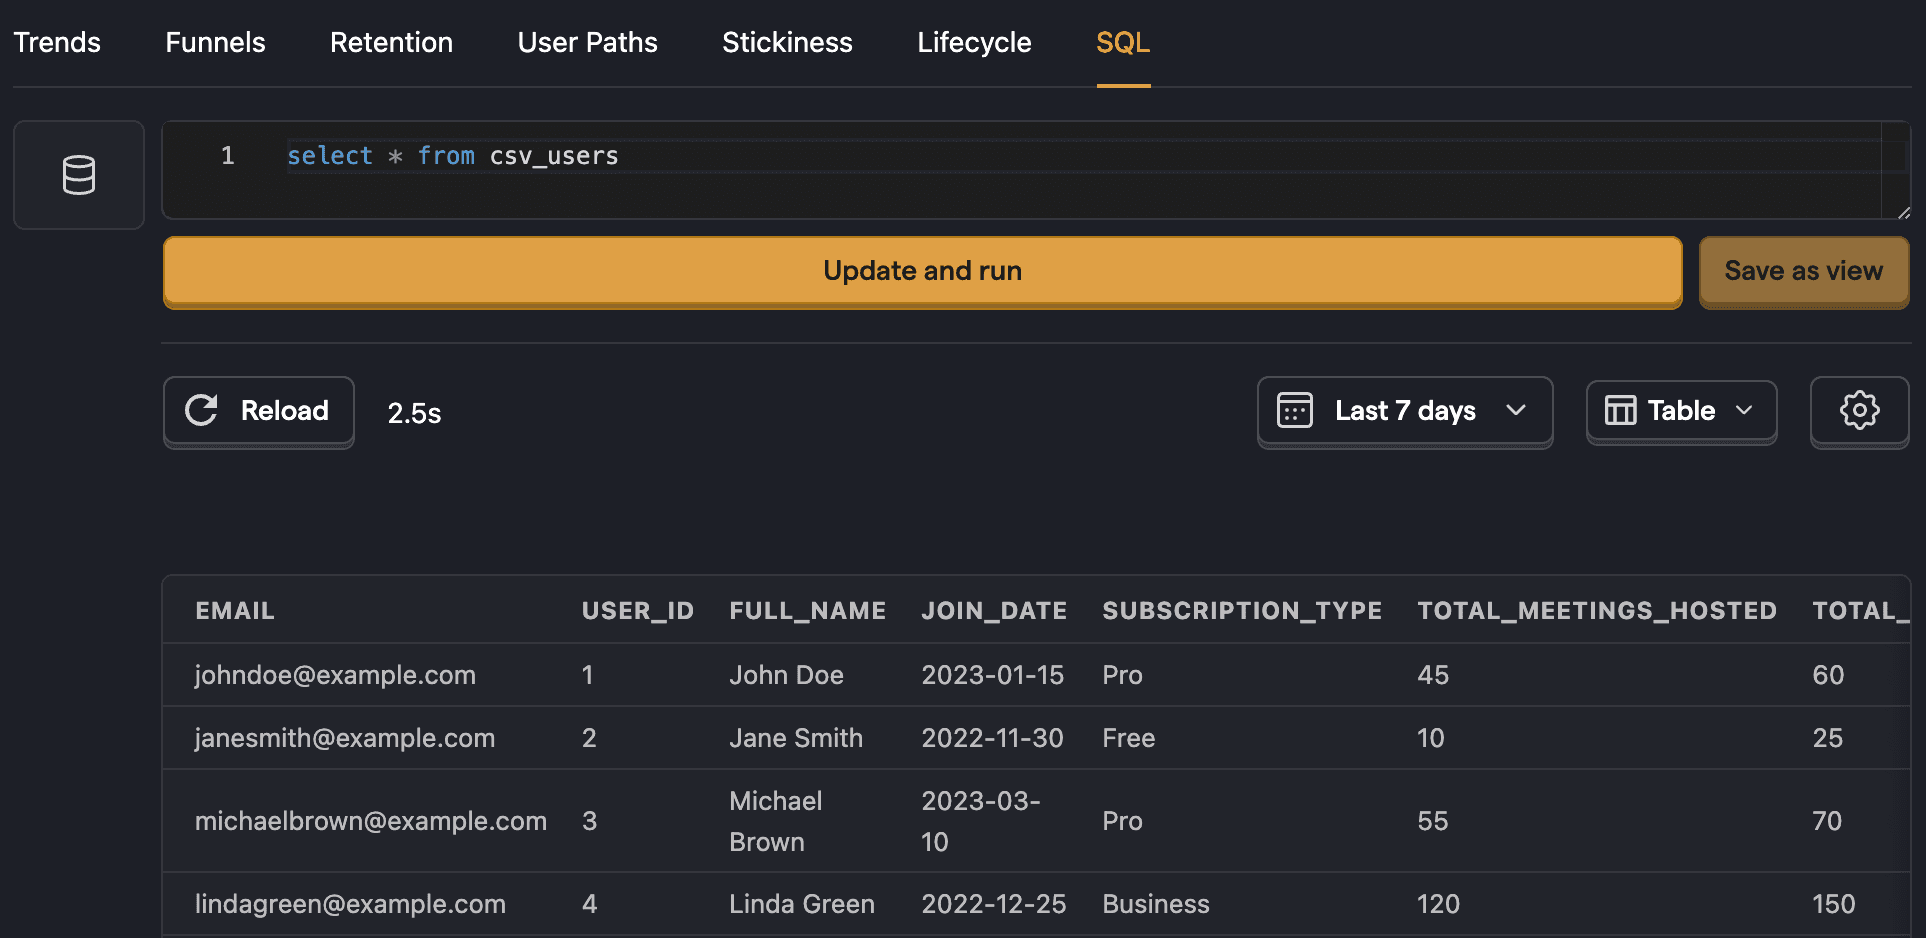
Once linked, we can query the data in PostHog by creating a new SQL insight and querying the newly created table like this:
This gets all the data from the CSV.
We can use the features of SQL to filter and transform the data. For example, to get the pro or business users with the highest total_meetings_hosted, we can do this:
Joining CSV data to persons
When your data relates to people in PostHog, you can create a join between it and our persons table. This makes your CSV data much more useful by acting like extended person properties.
To do this:
- Go to the data warehouse tab and find the
personstable, click the three dots next to it, and click Add join. - In the popup, set the Source Table Key to a property that both tables include, in our case, that is
email. To access it, we use HogQL to set our Source Table Key toproperties.email. - Choose
csv_usersas your Joining Table andemailas your Joining Table Key. - Click Save.
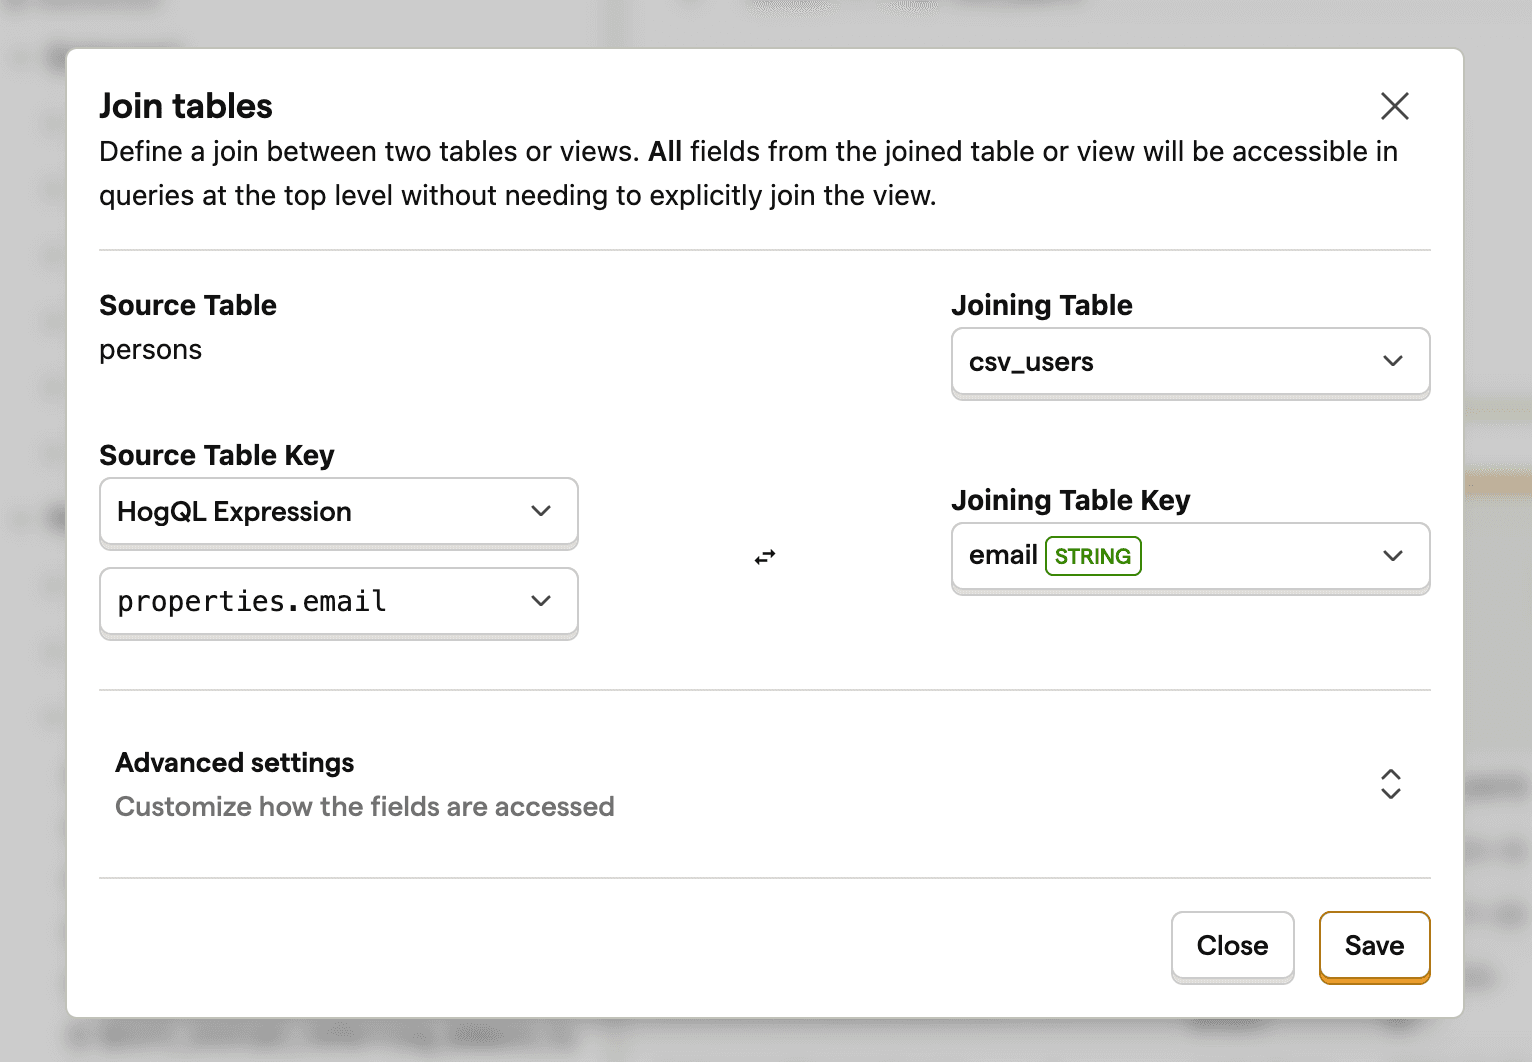
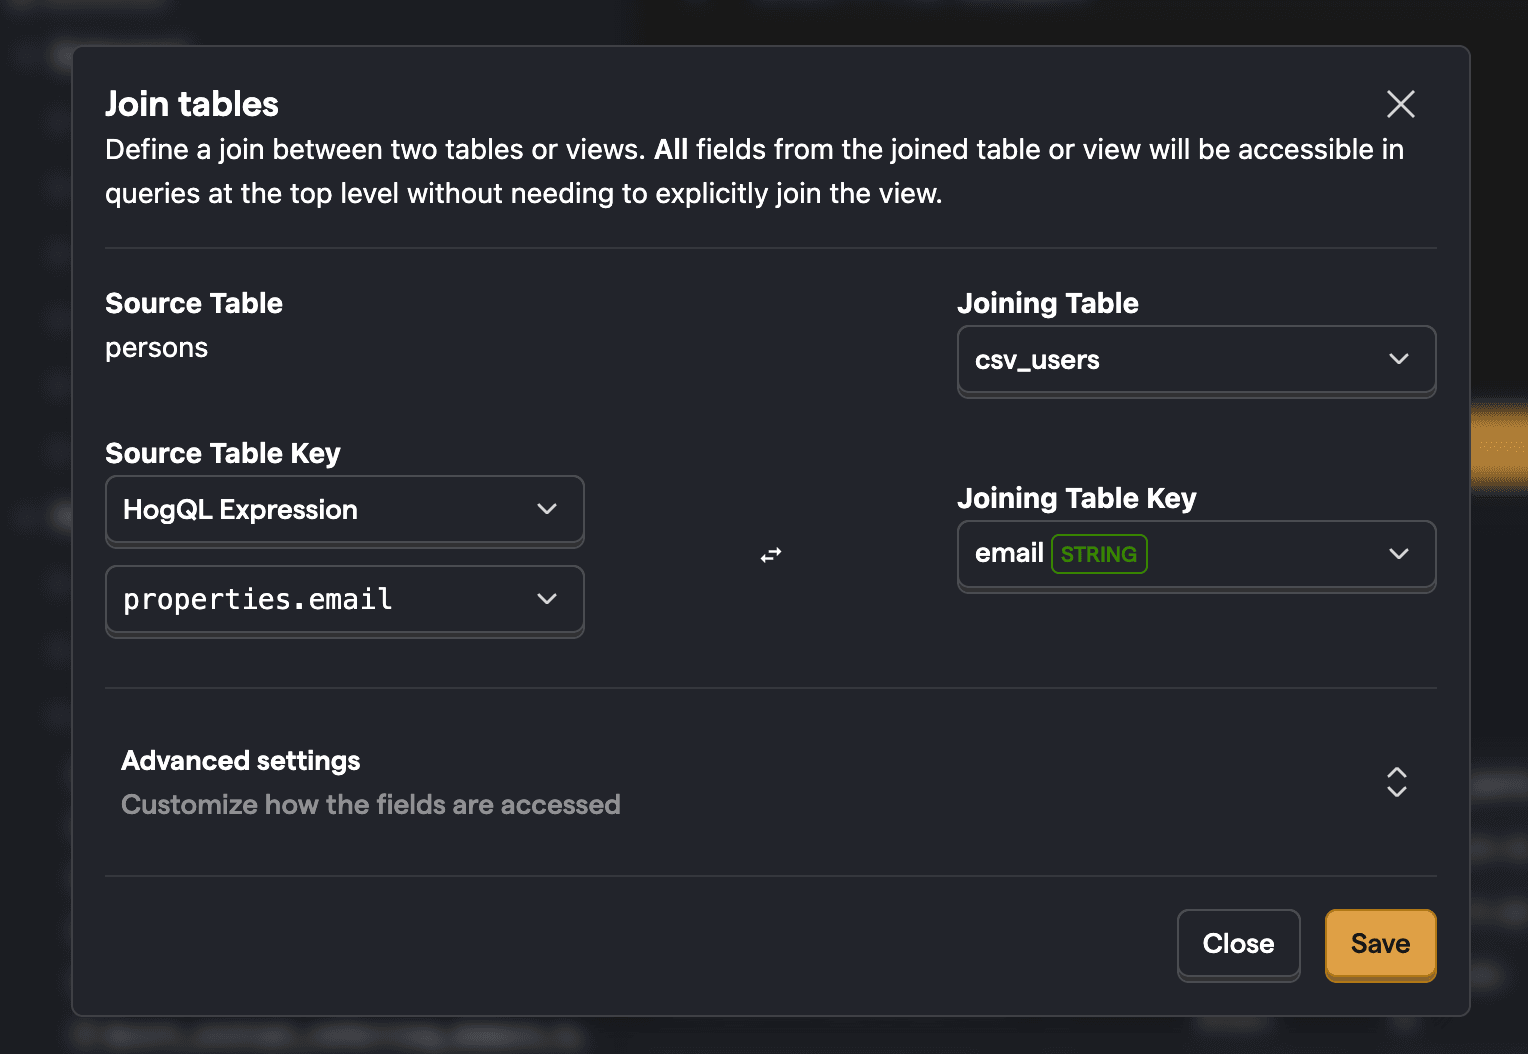
Once you've done this, you can then query your CSV data from the persons table like this:
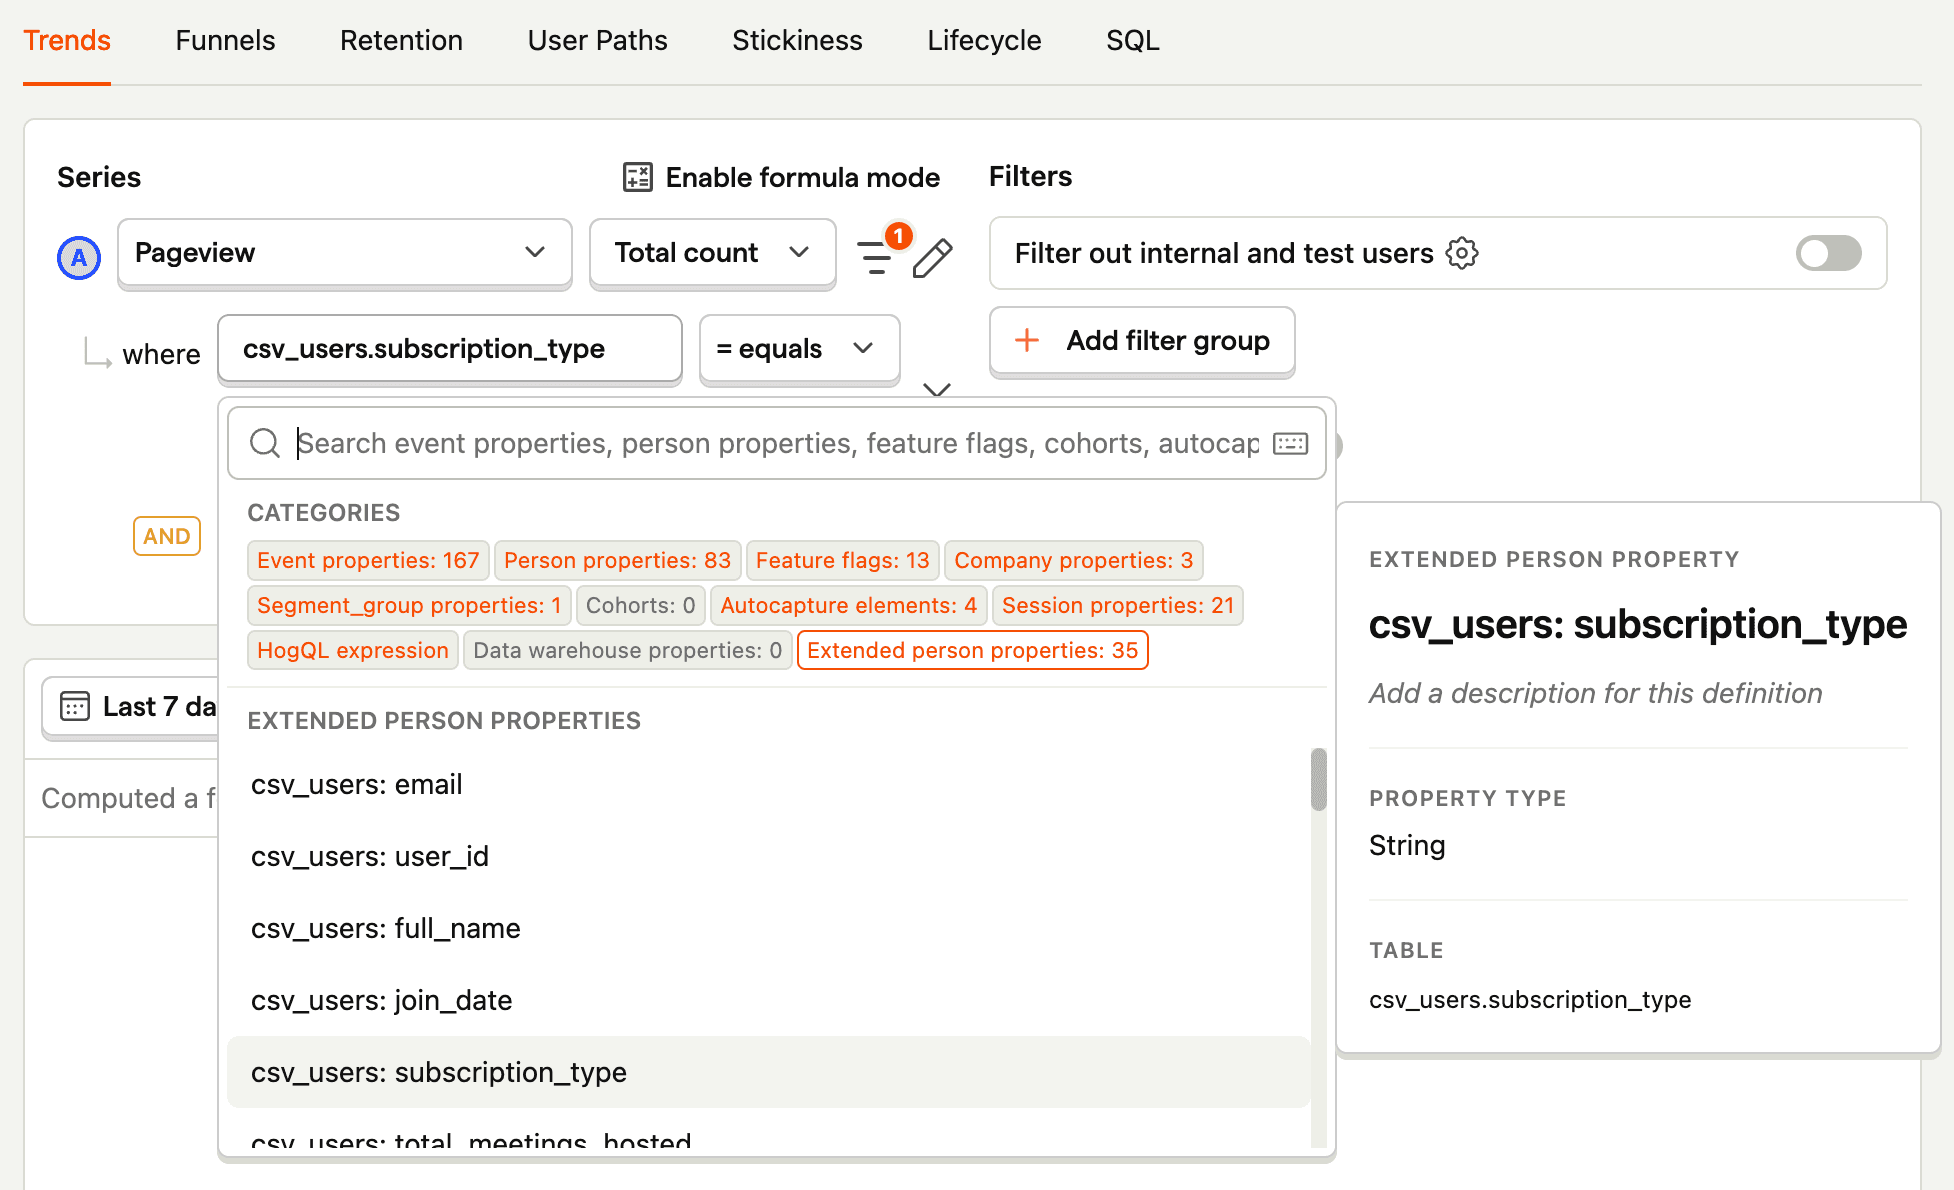
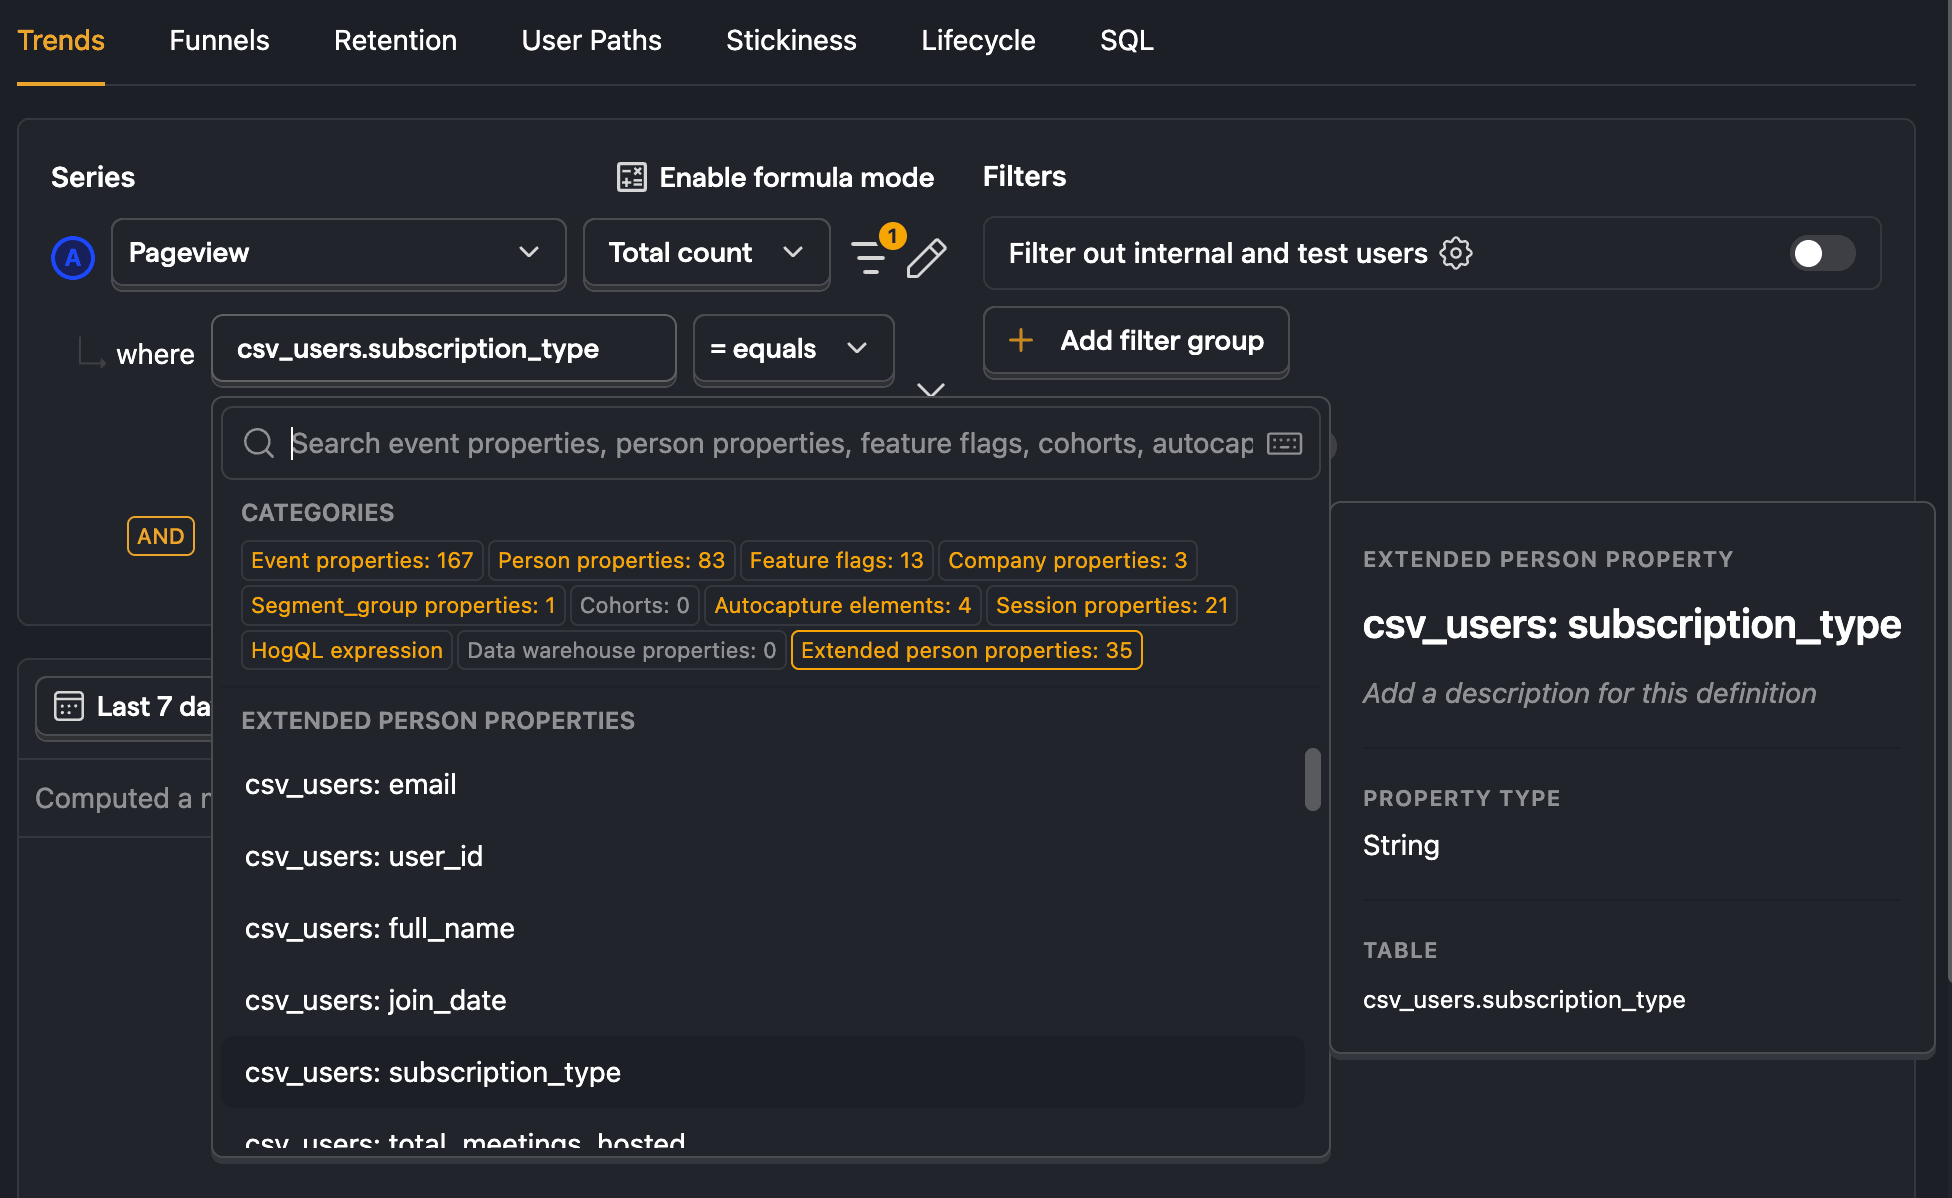
You can also use these extended person properties in insights. For example, you can get pageviews for users with the pro subscription type by selecting csv_users: subscription_type from extended person properties when creating an insight.
Further reading
- How to query Supabase data in PostHog
- How to set up Google Ads reports
- The basics of SQL for analytics
